How to Use ComfyUI Text to Video: Transform Text into Dynamic Visuals

AI is everywhere these days. Whether it's helping you organize your closet, recommending your next Netflix binge, or even generating artwork, AI is transforming the way we live. But when it comes to creating videos from text, that’s where the real magic happens. Enter ComfyUI Text to Video – your ultimate tool to turn written text into a professional-quality video. Sounds like something straight out of a sci-fi movie, right? Well, it's real, and more accessible than you might think!
In this guide, we’ll dive into everything you need to know about ComfyUI Text to Video, explore how it works, and share tips to maximize its potential. Whether you’re a complete beginner with AI or a seasoned pro in tech-driven video creation, this guide will make the process fun and easy!
What is ComfyUI Text to Video?
Let’s start with the basics. ComfyUI Text to Video is exactly what it sounds like – an AI tool that takes your written text (be it a story, script, or just a few random thoughts) and transforms it into a full-fledged video. Think of it as the ultimate storyteller’s assistant. Rather than just telling a story, it shows it. No need for cameras, actors, or editing skills – just text and AI magic.
This tool is truly groundbreaking. You type a few lines of text, and voila – you get a video. With ComfyUI Text to Video, you can create anything from marketing videos to educational content, music videos, and even viral TikToks. All this from a simple text prompt. In fact, research by MarketsandMarkets reports that the AI video creation market is expected to grow from $6.15 billion in 2023 to $21.1 billion by 2028, highlighting the rapid rise of AI tools like ComfyUI Text to Video.
How Does ComfyUI Text to Video Work?
You're probably thinking, “Okay, but how does ComfyUI Text to Video actually work?” While it may sound like magic, the process is quite impressive. Here’s how it unfolds:
- Input Your Text: The first step in using ComfyUI Text to Video is providing the AI with some text. This could be a short story, a script, a YouTube video idea, or even just a few random words. The AI takes your input and analyzes the context to understand what you're aiming for.
- AI Processes the Text: This is where the magic truly begins. ComfyUI Text to Video analyzes the text, breaking it down into scenes, dialogues, and visual elements. It then generates animations, images, and video content based on your input. It can even pick out background music or sound effects to enhance the video’s mood, adding an extra layer of polish. According to a report by TechCrunch, AI-generated videos are gaining traction because of their ability to save time and resources while maintaining a high level of creativity and personalization.
- Output Your Video: After processing the text, ComfyUI Text to Video will deliver the completed video in a matter of minutes (or hours, depending on the complexity of your text). Once it’s ready, you can simply hit the "Download" button and enjoy the results of your newfound video wizardry.
Why Should You Use ComfyUI Text to Video?
If you’ve ever wished you could create professional videos without the hassle of video editing, ComfyUI Text to Video is your dream come true. Here’s why:
- No Video Editing Skills Required: Let’s face it, video editing can be a nightmare. But with ComfyUI Text to Video, you can skip all that complicated stuff. The AI does the hard work for you, so you don’t need to be a video editing expert to create stunning videos.
- Unleash Your Creativity: Whether you're working on an animated short, a music video, or a tutorial, ComfyUI Text to Video empowers you to transform the simplest ideas into fully realized videos. It’s like having a professional film crew at your fingertips, without any of the complexity.
- Save Time: Traditional video production can take hours or even days. But with ComfyUI Text to Video, you can generate high-quality videos in minutes. According to research from Statista, 70% of video marketers report that video creation is time-consuming, but tools like ComfyUI Text to Video are helping to streamline this process.
- Perfect for Beginners: If you’re new to AI or haven’t used a text-to-video tool before, ComfyUI Text to Video is incredibly beginner-friendly. You don’t need to be an expert to get started. Its intuitive interface makes it easy to create videos, even if you’ve never touched a video editor in your life.
Other AI Tools You Might Need for Text-to-Image Creation
In addition to ComfyUI, there are several other powerful AI tools for text-to-image generation, each offering unique features and advantages. If you're looking to expand your creative toolkit, here are three tools worth exploring: Vidfly's Text-to-Video, Artbreeder, and Runway ML.
1. Vidfly: Text-to-Video
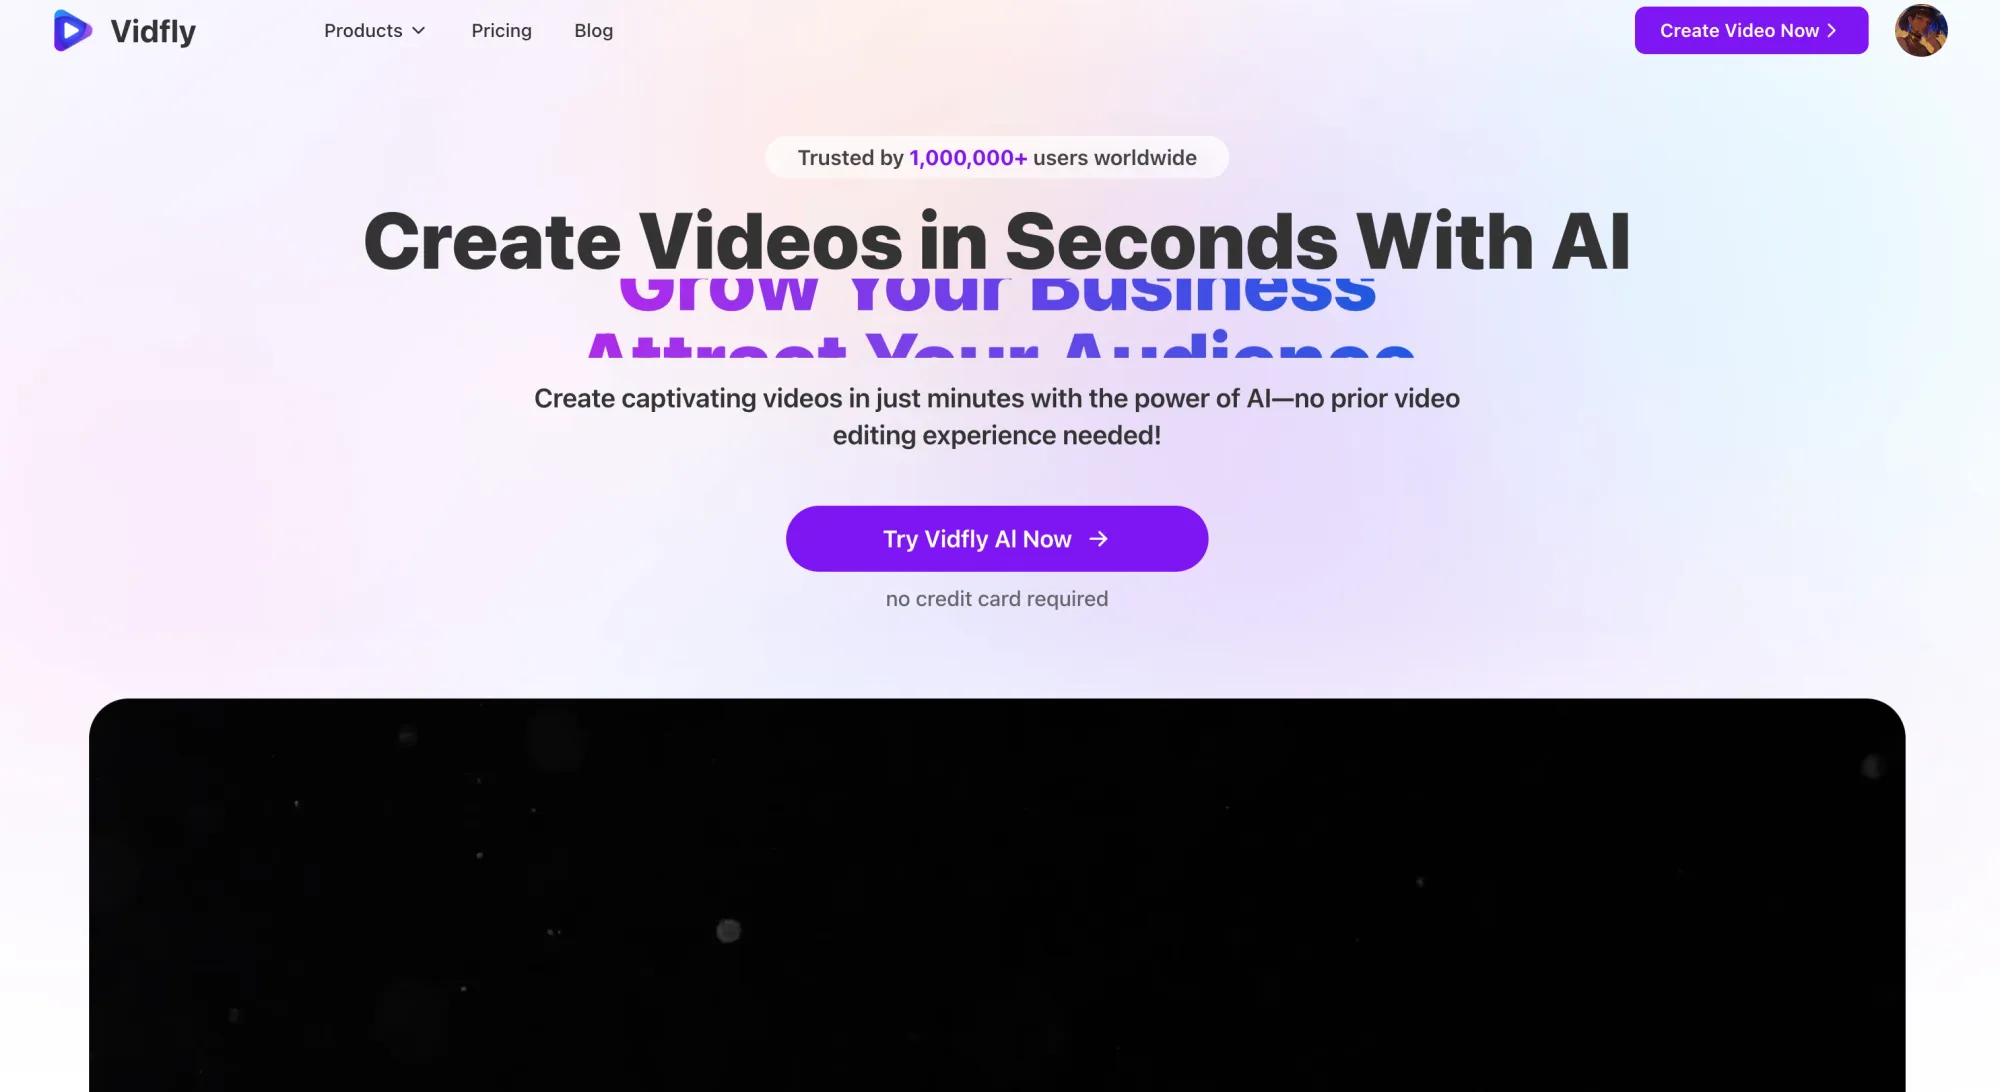
Vidfly is an AI tool that specializes in converting text into videos. Unlike traditional image-generation tools, Vidfly can automatically generate dynamic video content based on textual descriptions. It handles not only simple text inputs but also complex video editing tasks, such as background replacement, subtitle addition, and dynamic scene transitions.
Pros:
- Text-to-Video Generation: With just a text input, Vidfly can quickly generate corresponding dynamic videos, making it ideal for users who need to create video content quickly.
- User-Friendly Interface: The platform is easy to navigate, making it suitable for beginners without video production experience.
- Highly Customizable: It offers a variety of editing options, allowing users to fine-tune the details of the generated video.
Cons:
- Slower Generation Speed: Video creation takes longer than image generation due to the complexity of the process.
- Limited Video Quality: While the generated content is generally good, sometimes additional manual adjustments are required to achieve the desired quality.
2. Artbreeder
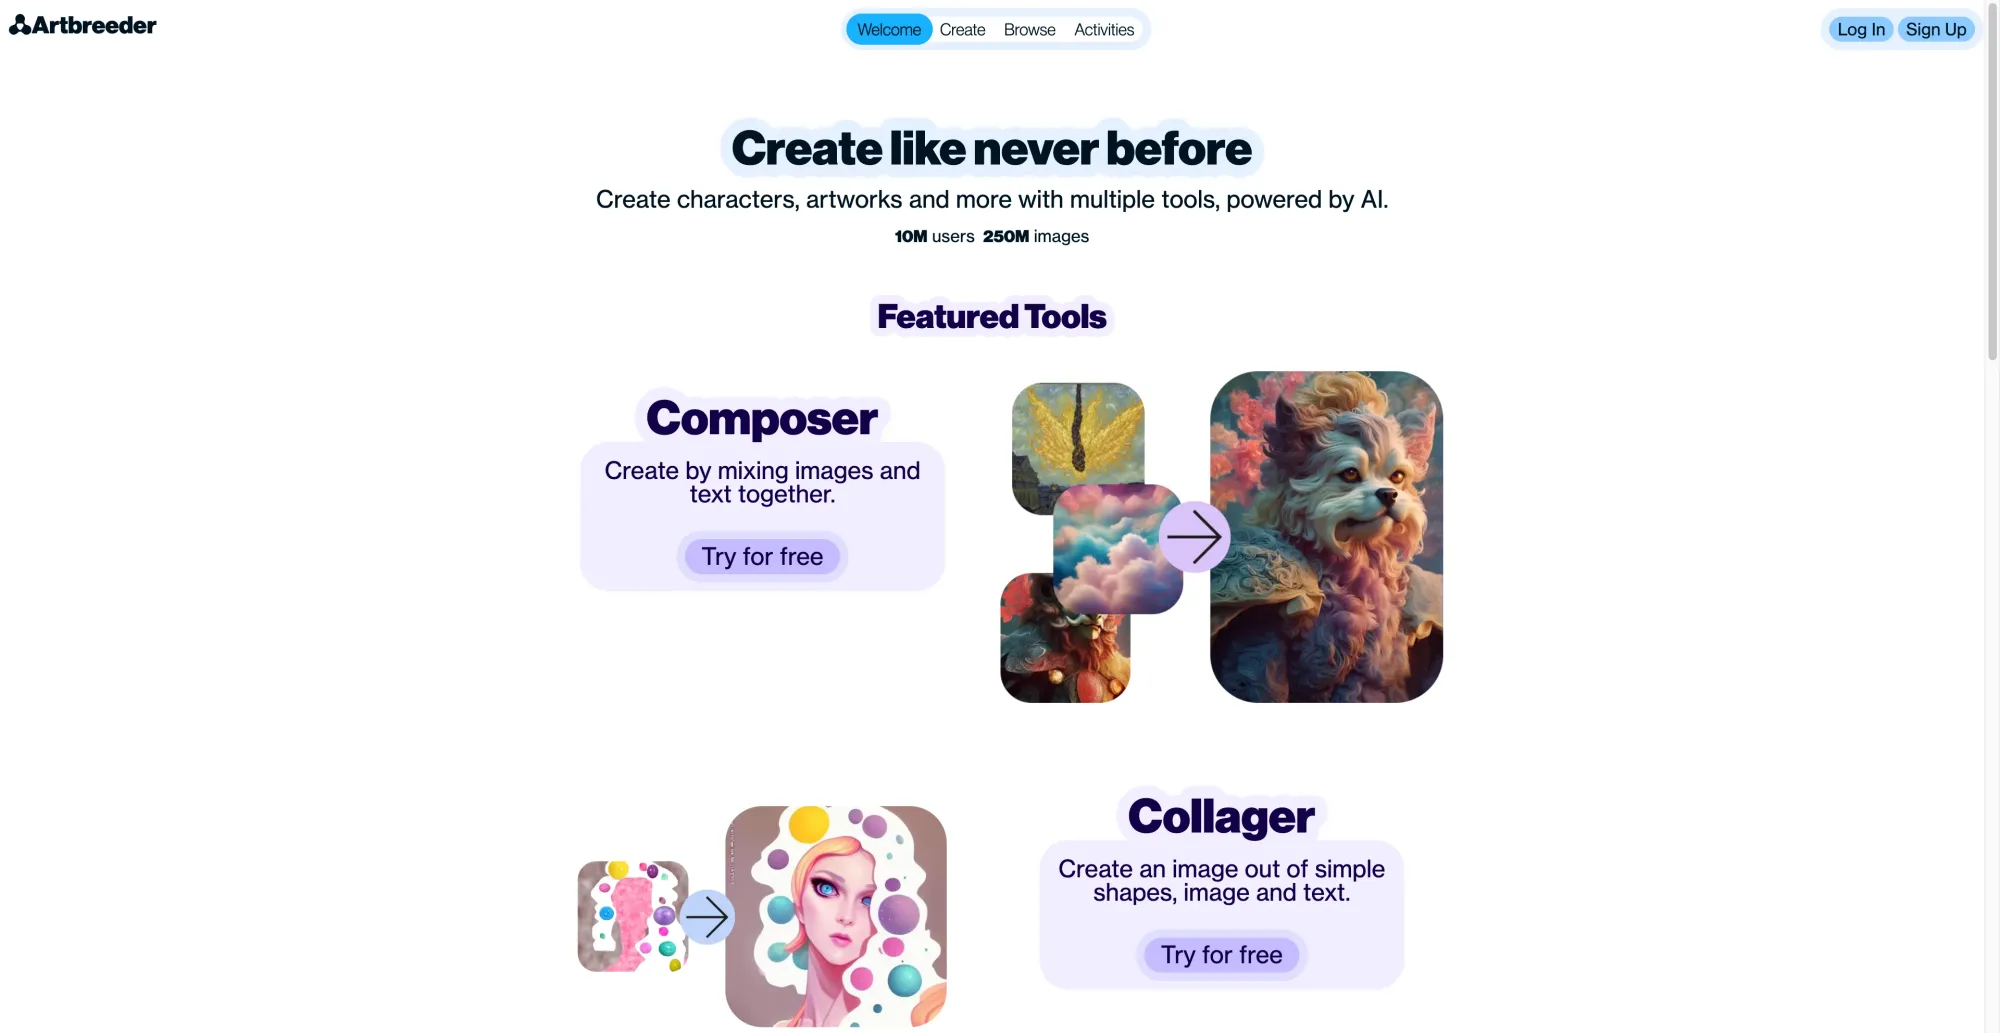
Artbreeder is an AI tool that allows users to generate images by blending and adjusting the "genes" of existing images. It's widely used for artistic creation, character design, and more. Users can combine images or generate entirely new ones, controlling various elements like facial features, colors, and style with simple sliders.
Pros:
- Powerful Image Mixing: Artbreeder excels at mixing multiple images to create unique artworks.
- Real-Time Editing: Users can instantly preview changes, offering an intuitive editing experience.
- Ideal for Art Creation: It's excellent for creating digital art, character design, and scene creation.
Cons:
- Limited Functionality: While it performs exceptionally well in image generation, it lacks support for video generation, which is a limitation when compared to tools like Vidfly and ComfyUI.
- Free Version Restrictions: The free version has limitations, and users may need to upgrade to access more advanced features.
3. Runway ML
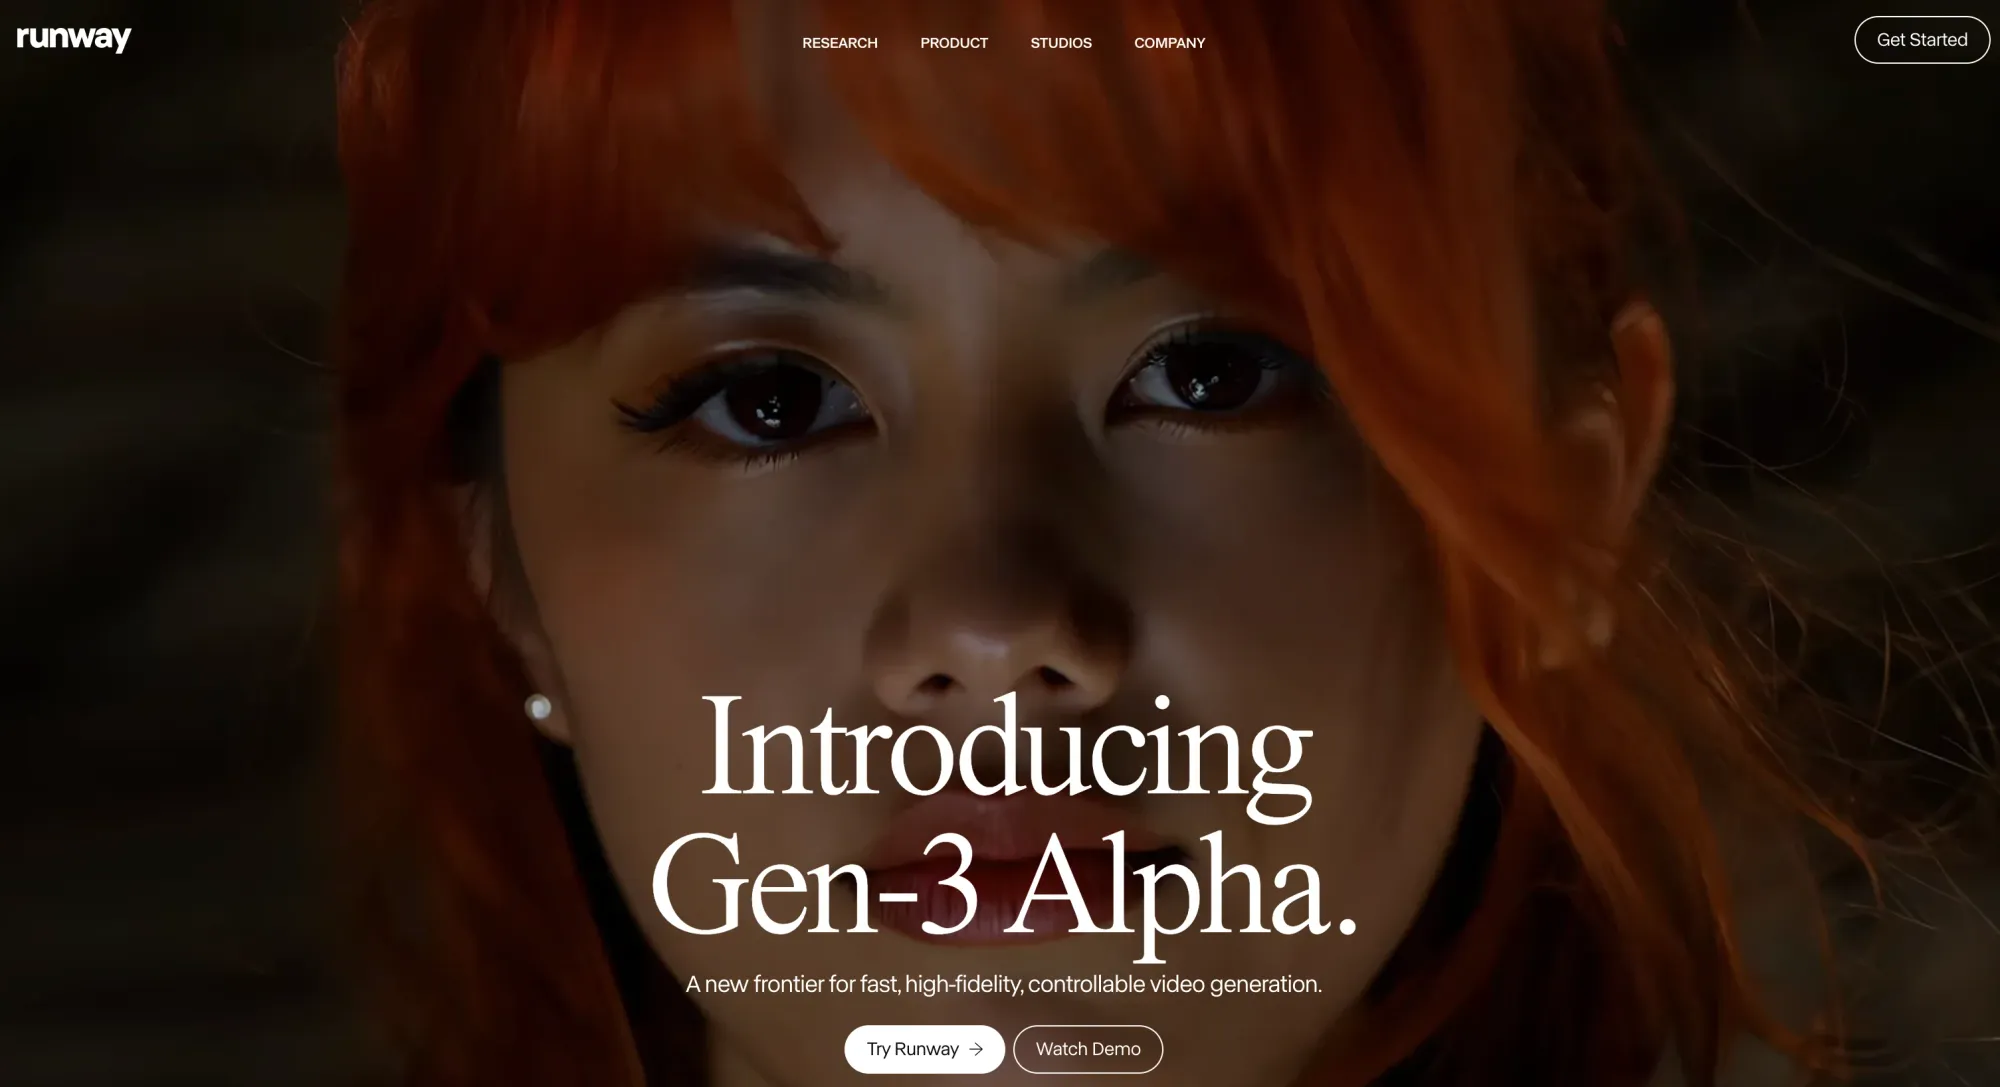
Runway ML is a versatile AI platform designed for creative professionals. It combines computer vision and Generative Adversarial Networks (GANs) to help users create not only images but also videos and even music. The platform’s powerful API and open-source models allow developers to integrate AI into their projects, enabling more creative possibilities.
Pros:
- Multi-Function Platform: Runway ML supports various creative tasks, including image generation, video editing, and style transfer.
- Seamless Integration: It integrates well with other software such as Adobe Premiere and After Effects, making it useful for professional workflows.
- Robust API: The platform offers an API that allows developers and creators to build custom AI applications.
Cons:
- Steep Learning Curve: For beginners, Runway ML can be challenging to master due to its vast feature set and complexity.
- Paid Features: While there is a free version, most of the advanced functionality, particularly for video generation and real-time editing, requires a subscription.
Comparison and Summary
| Tool Name | Key Features | Pros | Cons |
|---|---|---|---|
| Vidfly | Text-to-Video Generation | Easy to use, great for quick dynamic video creation | Slower generation speed, occasional quality tweaks needed |
| Artbreeder | Image Mixing and Generation | Strong mixing features, ideal for art creation | Limited video support, free version limitations |
| Runway ML | Multi-Functional AI Platform | Supports various creative tasks, strong integration and API | Steep learning curve, advanced features require payment |
Each of these tools offers unique benefits depending on your creative needs. If you're focused on image creation, Artbreeder is an excellent choice. For quickly transforming text into videos, Vidfly is the ideal solution. For those seeking flexibility and advanced features, especially for professional creative workflows, Runway ML is a great option.
Regardless of which tool you choose, these AI platforms can significantly boost your productivity and help you achieve complex creative outputs in a fraction of the time.
Getting Started with ComfyUI Text to Video: A Step-By-Step Guide
There are currently two common methods for installing ComfyUI: using the official integration package or utilizing the one-click launcher. Both installation methods are straightforward, with similar steps.
If you’re concerned about potential errors when using the official integration package, you can opt for the one-click launcher, which helps avoid some common issues.
Official Integration Package Installation
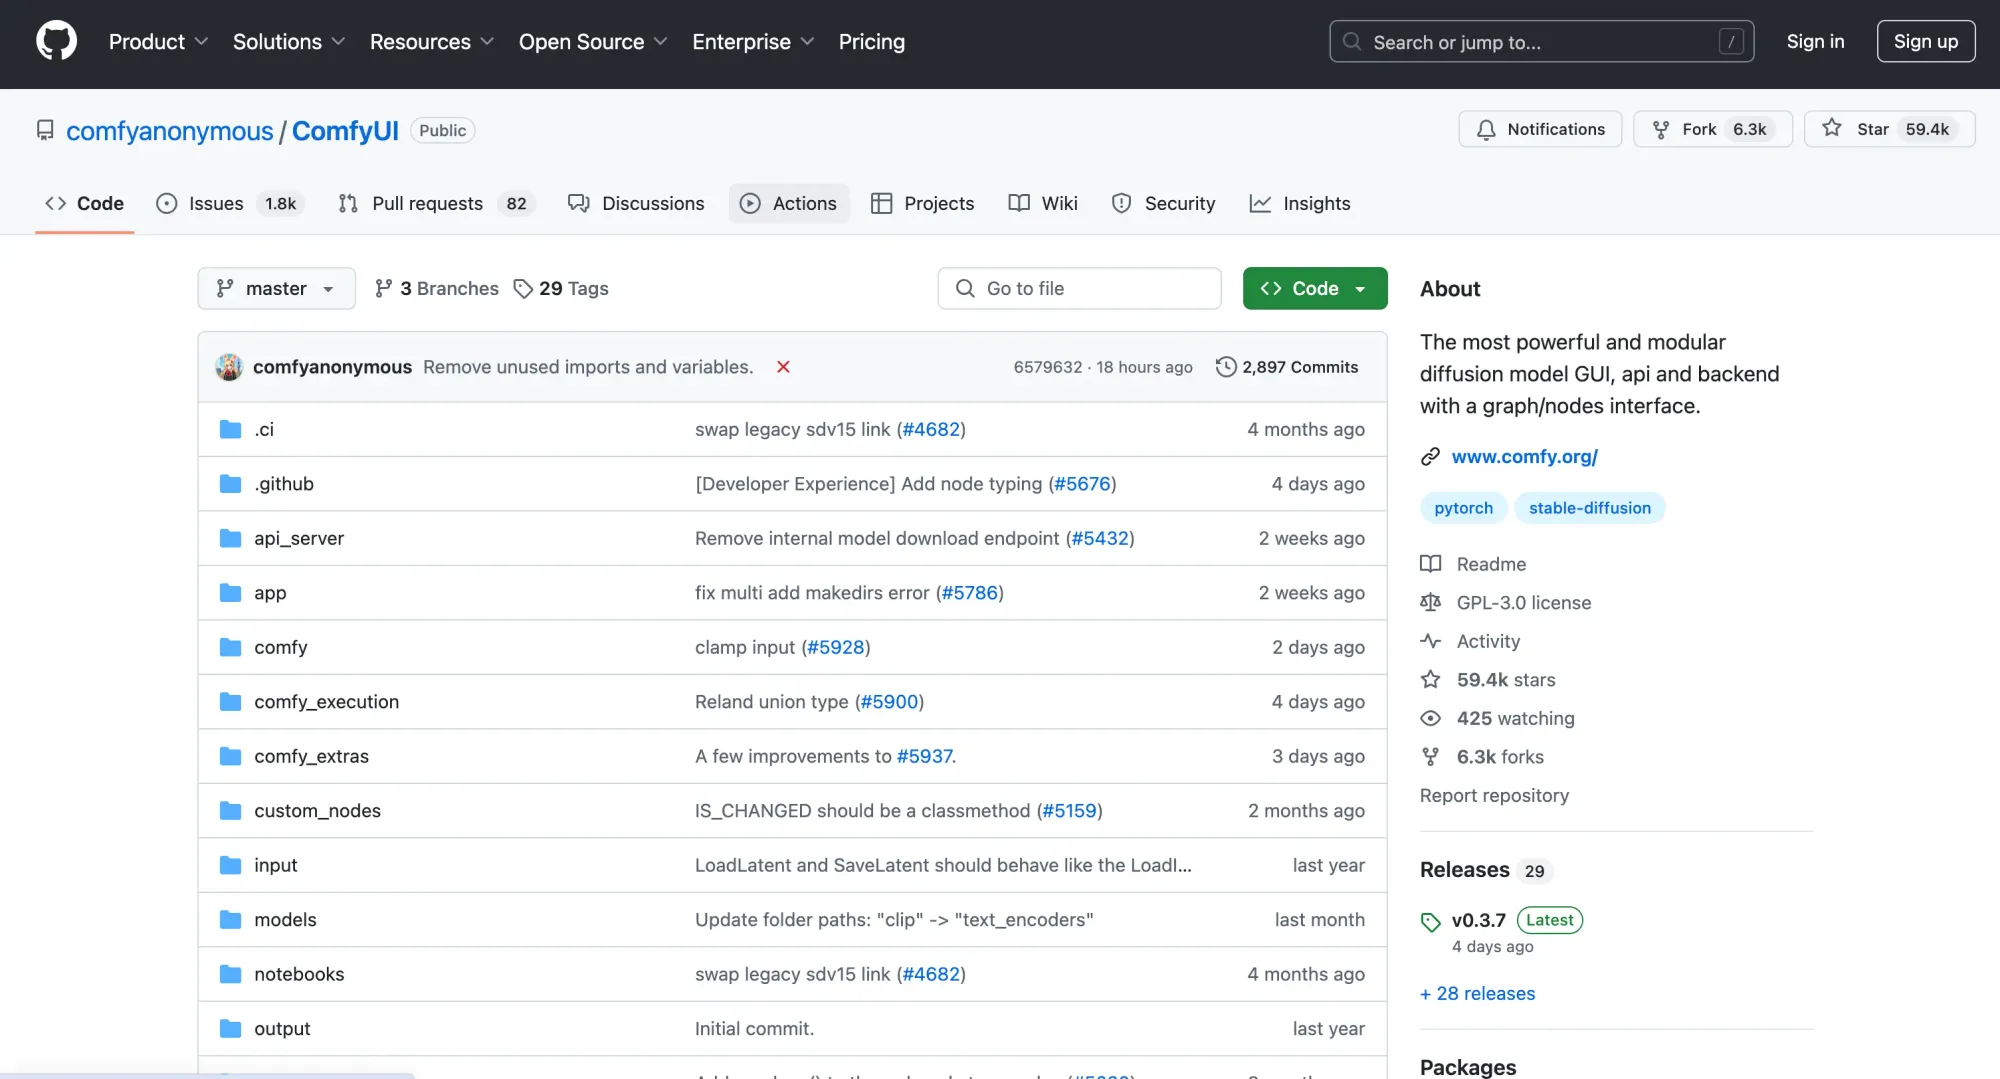
First, download the official integration package from the ComfyUI GitHub releases page.
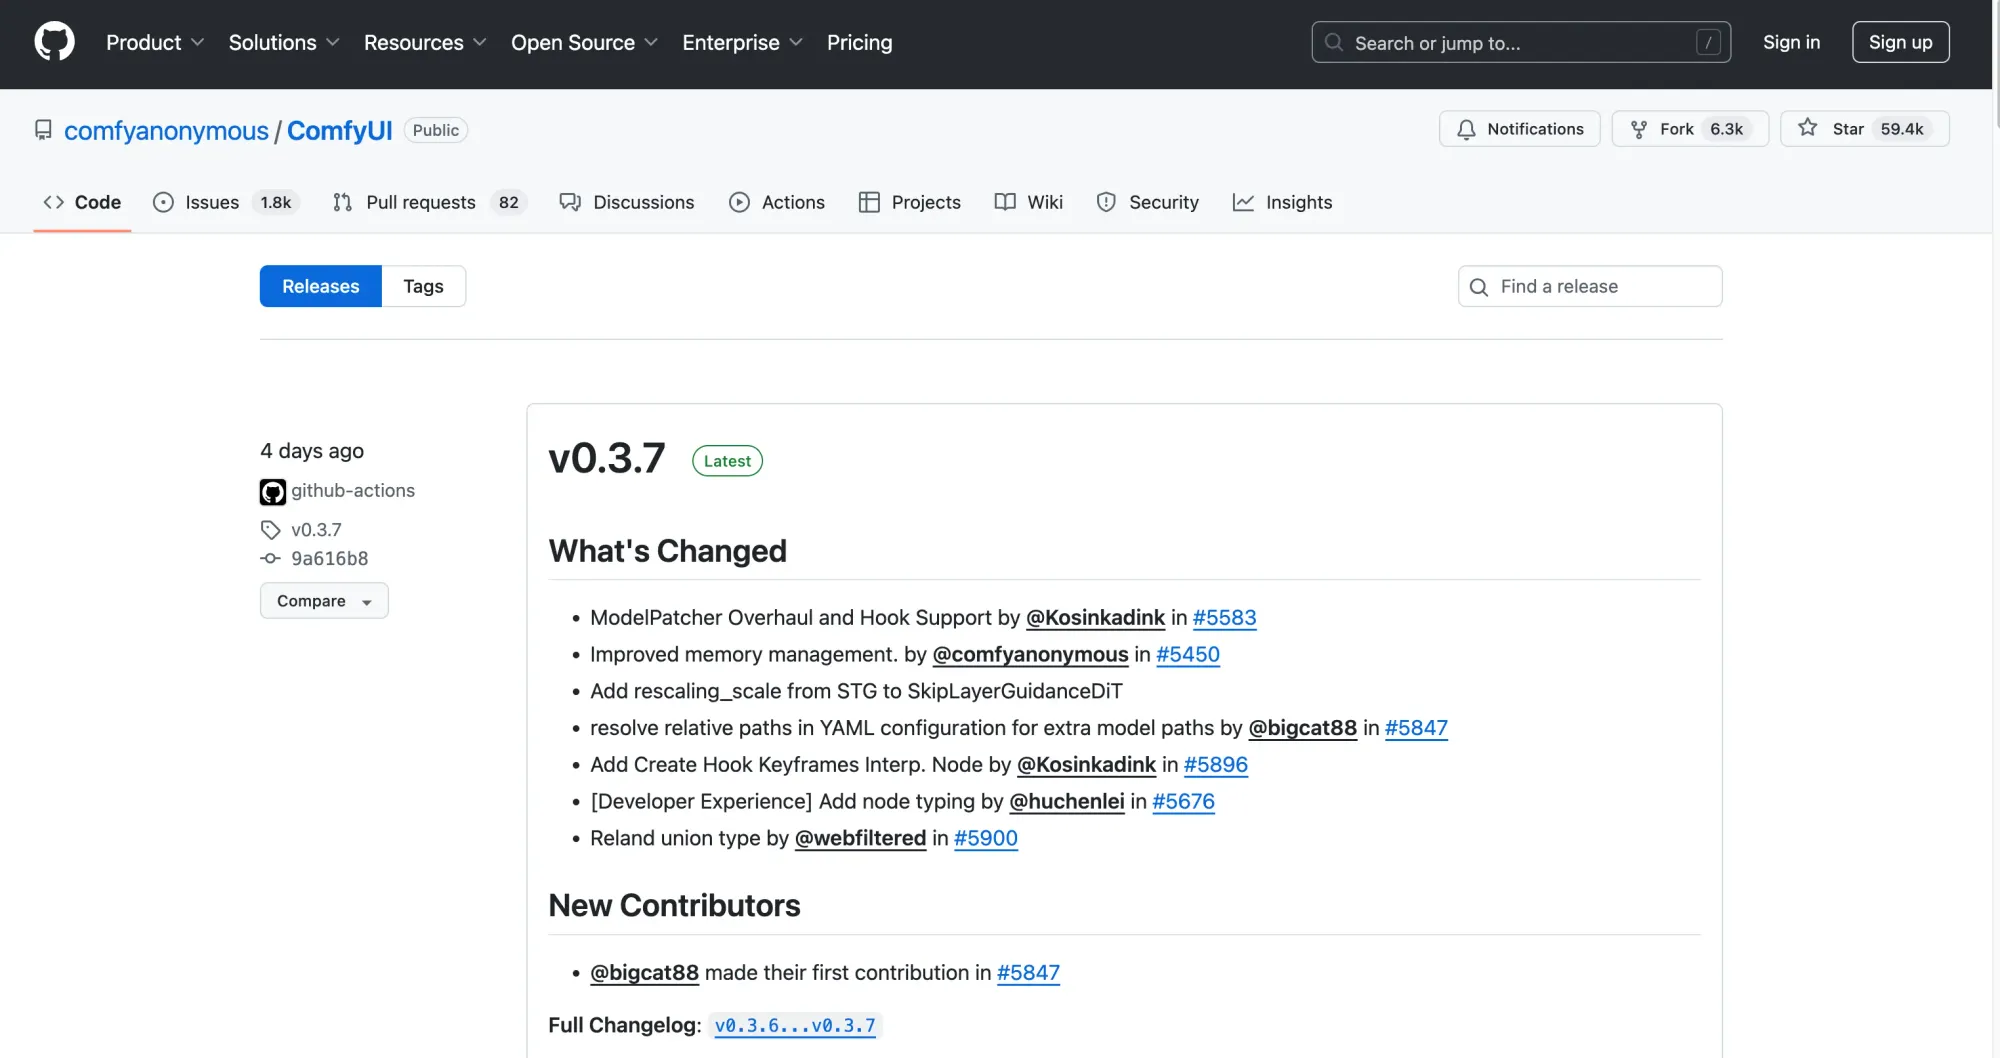
Once the download is complete, navigate to the folder where the package was saved. You'll see several folders, but the "comfyui" folder is the main directory where the program runs. The "update" folder is used for version updates, and the "run_cpu.bat" and "run_nvidia_gpu.bat" files are used to run ComfyUI either on your CPU or GPU, respectively. Other files can be ignored for now as we only need to focus on the following key components:
comfyui: Main program folder.
update: Folder for future updates.
run_cpu.bat: Run ComfyUI using the CPU.
run_nvidia_gpu.bat: Run ComfyUI using an Nvidia GPU.
Once the package is downloaded, you can start ComfyUI by double-clicking the "run_nvidia_gpu.bat" file if you’re using an Nvidia GPU. This will launch the ComfyUI interface.
Getting Started with ComfyUI Text to Video: A Step-By-Step Guide
Now that you’ve installed ComfyUI, let’s dive into how to use it for creating videos from text. Here’s a step-by-step guide to get you started with ComfyUI Text to Video:
Step 1: Launch the ComfyUI Application
Once you’ve successfully installed ComfyUI, it’s time to launch the application. Simply double-click the “run_nvidia_gpu.bat” file in your ComfyUI folder (if you have an Nvidia GPU) to start the program. If you're using CPU, just click on “run_cpu.bat” instead. The interface should open automatically, and you’ll be greeted with the ComfyUI workspace.
Step 2: Prepare Your Text
The next step is to prepare the text you want to convert into a video. Whether it’s a script for a YouTube video, an educational tutorial, or a short story, ComfyUI Text to Video works with any type of text input. Make sure your text is clear and detailed to get the best results from the AI.
Step 3: Input Your Text into ComfyUI
Once you’ve written your text, it’s time to input it into ComfyUI. Open the Text to Video section in the interface and paste your prepared text into the designated field. ComfyUI will automatically start analyzing your input, identifying key scenes, dialogues, and visual elements based on the content you provided.
Step 4: Customize Your Video Settings
After the AI has processed your text, you can customize various settings to fit your needs. You can adjust visual styles, scene transitions, and even select the type of music or sound effects you’d like to accompany the video. ComfyUI makes it easy to tweak these elements so that your video reflects your vision.
Step 5: Generate Your Video
Once you’re happy with your settings, click the "Generate Video" button. ComfyUI will start creating your video based on the text you’ve provided and the settings you’ve selected. The process may take a few minutes, depending on the length and complexity of your text.
Step 6: Review and Download Your Video
Once ComfyUI has finished generating your video, you can review it within the interface. If everything looks good, you can hit the "Download" button to save your video to your computer. From there, you can share it on YouTube, social media, or any platform you prefer.
Building Your Text-to-Image Workflow in ComfyUI
Now it’s time to get hands-on with ComfyUI and build a text-to-image workflow from scratch. I'll guide you step by step through the process, so no need to worry about taking notes or memorizing everything—practical experience is the best way to learn!
Before diving in, it’s helpful to know how to use keyboard shortcuts in ComfyUI for smoother operation. Here’s a quick overview:
1. Keyboard Shortcuts
You can find the official ComfyUI shortcut list on their GitHub page here. These shortcuts will save you time and effort as you navigate through the ComfyUI interface.
For those on macOS, you can replace the Ctrl key with Cmd. I’ll also point out which shortcuts we’ll use as we go along.
2. Six-Step Guide to Building Your Text-to-Image Workflow
Let’s begin by setting up a simple text-to-image workflow. If you’re launching ComfyUI for the first time, you’ll see a default workflow that you can start working with. For returning users, the interface will load your previous session's setup.
To begin fresh, go to the lower-left corner of the interface and click on “Clear” to remove any existing nodes from the workspace.
Step 1: Add the "K Sampler" Node
Right-click in the workspace and choose “Sampler” > “K Sampler.” This action adds the K Sampler node to your workflow.
Here are some key parameters of the K Sampler to understand:
- Random Seed: Corresponds to the seed value in webUI, ensuring the same image is generated with the same seed. The default is 0.
- Post-Run Action: This has four options—Fixed, Add, Subtract, Random. Most users will opt for Fixed or Random depending on their preferences.
- Steps: Represents the iteration steps in webUI (typically set between 30-40).
- CGF: Determines the relevance of prompt words. Higher values make the generated image closer to the prompt, while lower values allow more freedom in the AI’s creativity.
The Sampler works together with a scheduler (similar to webUI’s sampling method), and you’ll want to choose an optimized one like euler_ancestral or the dpm++_2m series for best results.
Step 2: Add the "Load Model" Node
Drag the model connection point to the function area and select the “Checkpoint Loader” node. This is where your model will be loaded. Repeat this method for future nodes.
Step 3: Add Positive and Negative Prompts
To add prompt inputs, simply drag the “CLIP Text Encoder” node to the workspace. You can also add a negative prompt input using the same method. For faster workflow, you can copy the node by selecting it, then pressing Ctrl+C to copy and Ctrl+V to paste.
You can also hold down the "Alt" key and drag with the mouse to quickly duplicate a node.
Step 4: Add Image Size/Batch Node
Drag the “Latent” connection point and choose the “Empty Latent” node to adjust your image size and batch settings. This is where you’ll set the image width, height, and batch size, just like in webUI.
Step 5: Add the "VAE Decoder" Node
Drag the “Latent” connection point again and select the “VAE Decoder.” This is the final step in preparing your image for generation.
Step 6: Add the "Image Preview" Node
Finally, drag the “Image” connection point and choose “Preview Image.” This is where your generated image will appear. You can then right-click on the preview to save it to your computer.
Now, your workflow is set up, and you can click the “Add Prompt Queue” button to generate your image. Before you do, enter a sample prompt like “a girl” in the positive prompt input.
Note: If you encounter an error when trying to generate your image, don’t panic! This is likely due to a missing connection between nodes, which we’ll fix in the next section.
3. Troubleshooting and Fixing Missing Connections
When you click “Generate,” you may see a red error message, indicating that certain nodes aren’t connected properly. If you see this, simply connect the colored nodes correctly—yellow connections must link to yellow nodes, and so on. Once everything is connected, click “Generate” again, and your image should render successfully!
4. Saving and Reusing Workflows
ComfyUI’s flexibility extends beyond just manual node creation—it also allows you to save and reuse entire workflows, making it easier to work with complex setups.
Saving Your Workflow
Once you’ve built a workflow, save it by clicking the “Save” button in the function area. You’ll be prompted to name the file, and the workflow will be saved as a .json file, which you can download to your computer.
Loading an Existing Workflow
To load a saved workflow, click on the “Load” button and select the .json file you saved earlier. The workflow will load into your workspace with all nodes pre-configured.
Using Images to Load Workflows
You can also use images to load workflows directly. ComfyUI attaches the workflow data to the generated images, so simply dragging and dropping a generated image into the workspace will also load the corresponding workflow.
5. Reusing Shared Workflows from the Community
ComfyUI’s open-source nature means there are plenty of shared workflows available online. Websites like OpenArt Flow offer pre-built workflows for a range of tasks like model swapping, photo restoration, and more. All you need to do is download the workflow file and load it into your workspace.
However, you may encounter an issue where some nodes are missing because the workflow you’ve downloaded relies on certain plugins or libraries you haven’t installed.
Installing Missing Nodes
To fix this, use ComfyUI’s “Node Manager” feature. Enable it, then select “Install Missing Nodes.” This will automatically install any nodes you’re missing. Once the missing nodes are installed, refresh or restart ComfyUI, and the workflow will work as expected.
You’ve now learned the basics of building and customizing workflows in ComfyUI. Whether you’re generating text-to-image art or experimenting with complex workflows, this tool gives you endless possibilities for creative exploration. And with the ability to save, load, and share workflows, ComfyUI is a powerful ally for any AI enthusiast!
ComfyUI Text to Video vs. Traditional Video Editing: What’s the Difference?
Now, let’s compare ComfyUI Text to Video with traditional video creation. The differences are mind-blowing!
- Time: Traditional video editing takes forever. You shoot, cut, paste, and adjust until you’re blue in the face. With ComfyUI Text to Video, the AI does it for you in a fraction of the time.
- Cost: Hiring a videographer, director, editor, and all the people it takes to create a video can cost a small fortune. But with ComfyUI Text to Video, you’re only paying for the text and creativity – and that’s a steal.
- Skills: Editing requires a steep learning curve, while ComfyUI Text to Video doesn’t need any fancy skills. If you can type, you can create videos!
Best Practices for Using ComfyUI Text to Video
To make the most out of ComfyUI Text to Video, here are some tips:
- Be Clear with Your Text: The more specific and clear your text is, the better the video will be.
- Experiment with Styles: Don’t just settle for the default style. Try out different video templates and see what fits your content best.
- Add Music: You can upload your own audio or use the AI’s options to give your video the right mood.
Final Thoughts
And there you have it! ComfyUI Text to Video is an incredibly powerful tool that allows you to turn your words into videos in just a few clicks. Whether you're a beginner in AI or a seasoned content creator, this tool is your ticket to making awesome videos without the hassle. So, why not give it a try? Write something, create something, and let the AI do the rest.
Happy video-making!


